Vermicomposting
Putting our worms to work
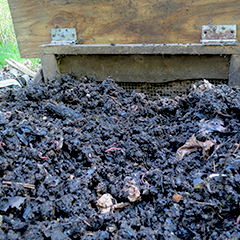
What you won’t see on your visit to the Zoo—both because it’s behind-the-scenes and it’s three feet underground—is our living, breathing vermicompost pit.
Under the Zoo, we’ve got thousands of worms happily digesting treats like used paper towels, coffee grounds and leftover food waste (like pumpkins). Here's a little more on vermicomposting and how you can put your worms to work:
What is compost?
A key ingredient in organic farming, compost is organic matter that’s been decomposed and recycled as a fertilizer and soil additive. It’s great for gardening fresh produce.
Why worms?
Also called vermicomposting, it’s easy, can be done indoors or out year-round, and helps the environment. Organic waste, like kitchen veggie scraps and garden clippings, make up 30 percent of what households currently send to landfills. If we compost this waste instead, we recycle nutrients back into the earth, significantly reduce the volume of garbage destined for landfills, reduce the number of trucks on the road, and lessen the methane gas generated by landfills. The earth wins and the worm lives! By the way, our composting heros are red worms and red wigglers (Eisenia foetida and Lumbricus rubellus).
Get Wiggling!
Worms need moisture, air, food, darkness, and warm (but not hot) temperatures. Here are Seven Easy Steps:
1. Fill your empty worm bin with a variety of bedding (made of newspaper strips or leaves that will hold moisture and contain air spaces) and two handfuls of sand or soil.
2. Add water to the bedding until the mixture feels like a wrung-out sponge. Make sure the bin is half-full of bedding.
3. Gently lift the bedding to create air spaces. This helps to control odors and gives the worms some wiggle room.
4. Add the worms.
5. Add food scraps by pulling aside some of the bedding, tossing in the scraps, then covering the scraps with bedding.
6. Bury successive loads in different locations in the bin.
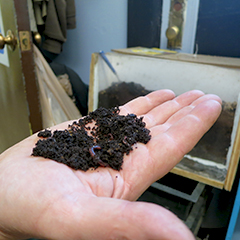
7. In one to three months, you’re ready to harvest your compost!
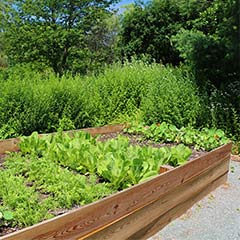
The rich compost your worms produce can be used as a soil conditioner for both indoor and outdoor gardening and to make potting soil—equal parts sifted compost, soil and vermiculite. Give your plants a tea party by offering worm tea; the liquid produced as part of the composting process is an excellent plant fertilizer (dilute one part liquid with 10 parts water).


